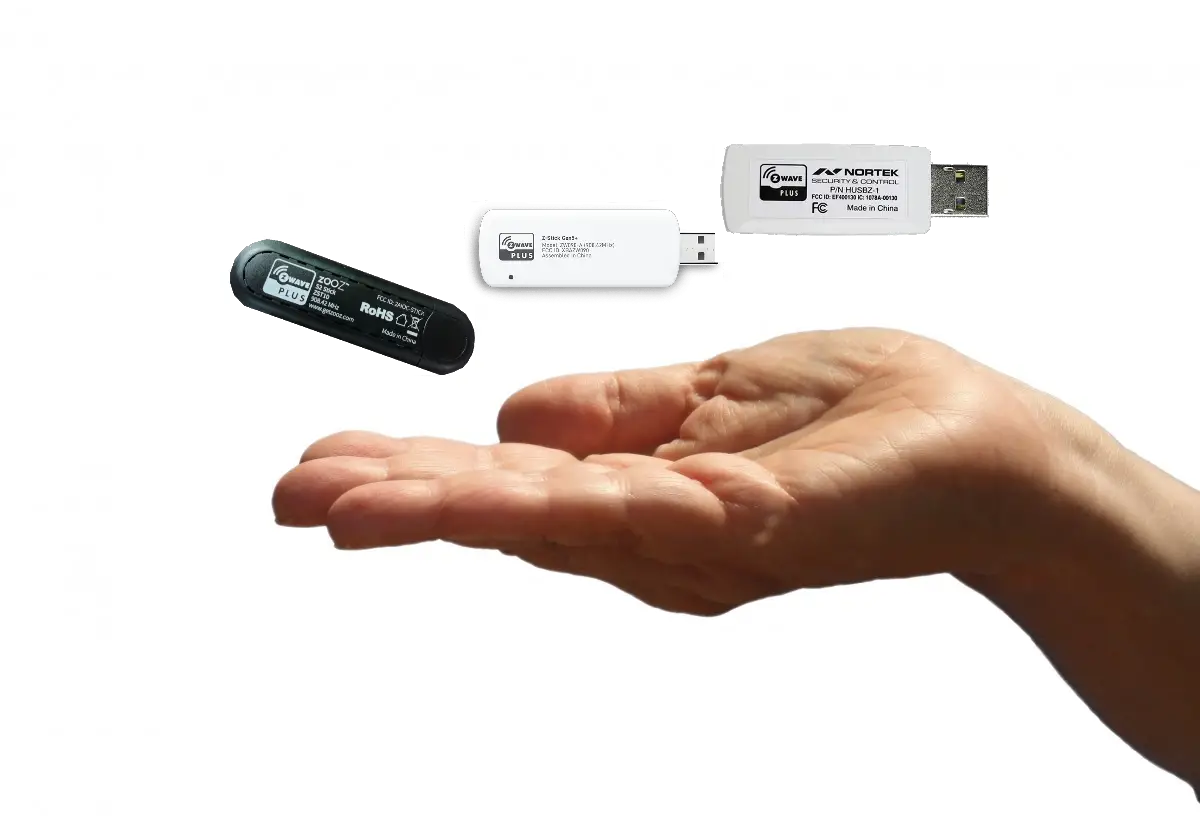
Z-wave USB sticks are essential in any home automation setup when you want to use something else then a z-wave hub. These very versatile sticks provide you with an independent way of connecting to your z-wave network. The z-wave USB stick acts as a coordinator within your z-wave network, and allows full control of all possible z-wave sensors and actuators.
Table of Contents
What role does a z-wave USB stick play within your z-wave network?
A z-wave network typically consists of multiple nodes. All these nodes are connected together in a mesh type of fashion. The mesh network allows for great range across your entire home. Once a z-wave network is created, a so called network ID is assigned to the network. This network ID is a unique identifier for you home z-wave network. Within a network there can only be one primaire network coordinator, but a z-wave network allows multiple secondary coordinators.
You might find this piece of information a tad bit boring, we understand that. But we think it essential to understand at least the very basics of z-wave technology to understand why a z-wave USB stick is interesting for you. Later on in this post we will recommend you with the best z-wave sticks on the market, so keep on reading.
Now lets get to the core of the question, what role does a z-wave stick play withing the z-wave network? Well the z-wave stick can act as a primary or secondary controller in a z-wave network. This allows us to control actuators (for example a light switch) or receive sensors data (for example from a door/window sensor)
What typical uses does a z-wave USB stick have?
A z-wave stick can be used as an independent way to connect to your z-wave network. There is no dependency on a expensive home automation hub. But instead you can use cheap small computers such as the Raspberry PI to host home automation software and connect to your z-wave USB stick.
Being independent from larger home automation hub developers is a good thing if you want a home automation solution that will last for years to come. A typical home automation hub will change focus over time, and shift away from certain technologies. A usb stick can be used for years and is a good investment.
So we can typically use the z-wave stick to connect to the network. And then utilize it for our home automation software. This can be complex at times, but we have provided you with several integration examples below. These integration examples will allow you to easily setup your usb stick within your home automation software.
Round-up: an overview of the most sold z-wave USB sticks
To help you decide, we have created a round-up of the most popular sticks at the moment. We have selected these stick based on our own research. Some of the sticks have been in use at our research team for years, running very stable. It must be said that the number of vendors producing these kind of z-wave sticks is quite limited.
For your convenience we have created a table with some pros and cons on the reviewed USB sticks. When you click the last column in the table, we will take you to Amazon so you can directly order your USB stick of choice. To quickly review some information listed below, we can recommend the Aeotec z-stick if you are looking for a stable and robust USB stick. If you are looking to support two home automation technologies at once we recommend that you purchase the GoControl z-wave stick.
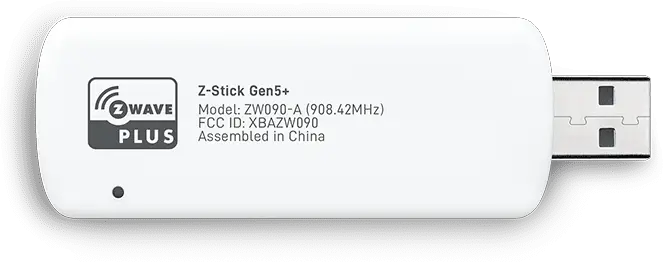
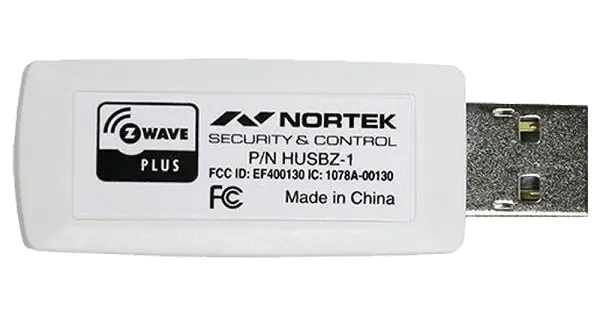
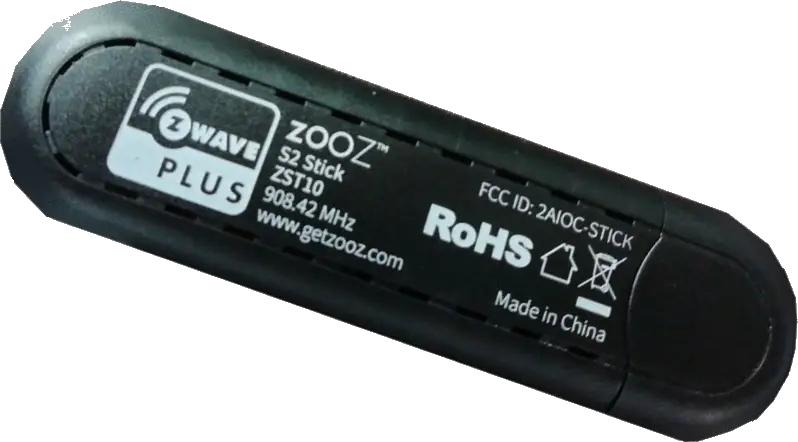
| Aeotec z-stick Gen5+ (ZwaveGuide pick) | GoControl HUSBZ-1 | ZooZ S2 USB | |
|---|---|---|---|
 |  |  | |
| Pros | Feature rich, with features such as Raspberry Pi 4 support, S2 security, SmartStart and Z-wave Plus. | Z=wave plus, combo feature that allows Zigbee control as well. Firmware upgrades. | S2 security protocol. SmartStart, OTA firmware support. |
| Cons | The most expensive one. But this comes with reliability. | Poor documentation, there is only a tiny document available. | No build in battery. Non SmartStart pairing may take some time. |
| Remarks | Features a built in battery, to pair devices as you walk. | This may be your pick if you are just starting a new home automation project. | New player on the market with competitive pricing! |
| Product link (buy directly on Amazon) | Click here to buy. | Click here to buy. | Click here to buy. |
Aeotec z-stick Gen5+

The Aetec z-stick Gen5+ is advertised as a gateway for your z-wave network. And we agree on that punch line. Usually a gateway is the most expensive product within a home automation network. But the Aeotec z-stick is provided at a price below $50. That is really a bargain if you compare it to more expensive z-wave/ home automation hubs at $200-$300.
Lets have a look at the features that the Aeotec z-stick provides. We have picked four key features of this z-stick to keep this article readable.
Raspberry PI 4 support
The Aetec z-stick Gen5+support the Raspberry PI model 4. Please note that this is only applicable for the + (plus) model of the Aeotec z-stick. The Raspberry PI provides a new arthitecture that allows 8GB of RAM and an ARM v8 1.5GHz CPU. Which is very powerful for running most home automation platforms.
S2 Security
With z-wave becoming more and more popular, there is also an increased risk of hackers trying to comprise z-wave. Don’t settle for less and use the latest security features such as Z-wave S2 security, UL 1023 compliance, and ECDH key exchange features.
Z-wave SmartStart
Z-wave SmartStart provides and easy way of connecting z-wave devices to an home automation system using a QR code based method. Just scan your QR code using your home automation system software and connect the device even when not yet fully installed.
Z-wave Plus
The Aeotec z-stick Gen5 also supports Z-wave plus. Which makes it literally compatible with thousands of z-wave products from Aeotec itself but also from 3rd party manufacturers.
GoControl HUSBZ-1
The GoControl HUSBZ-1 is also known as the GoControl QuickStick. We can find this device branded on the Nortek label as well (see image). During our research we did not find a lot of information on the GoControl website. So we decided to buy this stick and see for ourselves.
Z-wave plus
Just like the Aeotec, the GoControl also offers support for z-wave plus. This allows you to use the stick with a wide variety of sensors. According to GoControl they fully support the Gen5 sack.
Zigbee
One of the most remarkable features we found on this stick is the Combo feature. This feature allows you to use this stick for both a z-wave and zigbee network. If you are just starting a new home automation project, this may be the stick for you because you get two home automation technologies for the price of one.
Upgrades
GoControl allows updates of the stick via USB. Which enables you to get the latest firmware updates from GoControl itself. At the time of writing we didn’t find any recent upgrades, so the stick as it comes from Amazon is as up to date as it can be.
ZooZ USB Z-Wave Plus S2 Stick ZST10

The ZooZ USB Z-wave Plus is made by a new player in the z-wave usb sticks playing field. ZooZ provides affordable Z-wave products with great features. It must be noted that the Aeotec has the advantage of a built in battery. This battery is better suitable for older z-wave products. But if you are just starting out with your home automation project. This ZooZ stick might just be for you!
Z-wave S2 security
One of the key highlights for the ZooZ stick is the fact that it supports Z-wave S2 security. S2 security provides the latest security features for z-wave.
OTA Firmware updates
This ZooZ stick also support OTA firmware updates. OTA stands for Over The Air updates. This allows you to update supported z-wave devices over the air. Without ever touching the physical device. Some vendors like Fibaro support this type of functionality.
Latest z-wave stack support
This stick also supports the latest z-wave library commands from version 6.81.02. This makes sure the latest devices work flawlessly with this device.
Integration of z-wave USB sticks in home automation software
Integration of a z-wave USB stick within most automation software is not that difficult. You just need the right steps. We will provide you with steps for three major home automation platforms. These platforms include:
Please note that device names might sometimes differ between the different vendors of USB sticks. This is due to the nature of USB converter chipsets they use. Here is a list of the most common USB stick vendors and their USB device names:
| Device | USB device name (Linux) | Chipset vendor |
|---|---|---|
| Aeotec Z-stick S5+ | /dev/ttyACM0 | Sigma Designs, Inc. |
| GoControl HUSBZ-1 | /dev/ttyUSB0 (Z-wave) /dev/ttyUSB1 (Zigbee) | Cygnal Integrated Products, Inc |
| ZooZ S2 Stick | /dev/ttyACM0 | Sigma Designs, Inc. |
Using a z-wave USB stick with Home Assistant

Home Assistant is the biggest open-source home automation platform as of the time of writing. We will provide you with instructions on how to connect your stick to Home Assistant.
- Start by plugging in your z-wave USB stick in your machine. This could be a Raspberry PI, a regular PC or anything that allows you to connect an USB stick with enough compute power. For example we also have specific instructions for Synology NAS devices. The thing is that these USB sticks are so versatile that any platform is suitable.
- After plugging in your USB stick, make sure you find the device name of the USB device. You can do this by typing dmesg followed by a grep command. We provide an example for a Aeotec Z-stick:

3. Now that we have the USB stick name, which is in this case /dev/ttyACM0 we can configure Home Assistant itself. Depending on your setup you need to find the configuration file known as “configuration.yaml”
4. After you find the configuration file, you need to put the z-wave stick device name in the configuration. The configuration looks as follows:
zwave:
  usb_path: /dev/ttyACM0
  device_config: !include zwave_device_config.yaml
Please note the device name. We have included an optional zwave_device_config.yaml. Which is an external yaml file that contains custom configuration for the z-wave devices in your network.
5. After configuration, please restart your Home Assistant installation.
Bonus tip:
In case you are using docker or docker-compose to host your Home Assistant installation you need to pass your z-wave device through to the docker container. You can do this by using the following configuration (docker-compose example):
version: '3'
services:
  homeassistant:
    container_name: homeassistant
    image: homeassistant/home-assistant:stable
    volumes:
      - /data/HA/config:/config
      - /dev/serial/by-id/:/dev/serial/by-id/
    environment:
      - TZ=Europe/Amsterdam
    restart: always
    network_mode: host
    devices:
      - /dev/ttyUSB0:/dev/ttyUSB0
      - /dev/ttyACM0:/dev/ttyACM0
Using a z-wave USB stick with OpenHAB

OpenHAB is another major open source home automation platform. OpenHAB will run on virtually any device ranging from a Raspberry PI to a beefy PC or server system. To connect your OpenHAB system to a z-wave network you need to follow the following instructions.
- Start by plugging in your z-wave USB stick in your machine. As said this could be a simple Raspberry PI for smaller homes or a larger server system for a bigger home.
- After connecting we must figure out the device name of our z-wave stick. We do this by issuing the following command: dmesg |grep tty*
In our case we have used a Aeotec z-stick Gen5.
3. Now we need to install z-wave support in OpenHAB. We do this by install a binding. From the paper UI in OpenHAB go to Configuration => Bindings. And click on the little “Sign”. Search for z-wave and click on Install. We have provided a video down below:
4. After installing the binding we can configure a z-wave stick known as a “Thing” in OpenHAB. Do this by going to Configuration=>Things and the + sign for adding a new thing. Make sure you enter your z-wave stick path that we figured out earlier in the text field “Serial Port” Or just watch the video down below:
5. Once these steps have been completed you should end up with a proper working z-wave stick in OpenHAB. You can now start adding z-wave devices.