Synology provides excellent NAS (Network Attached Storage) products, which are actually very powerful. They are so powerful you can use it for more tasks then just sharing files. The Synology DSM (Disk Station Manager) allows you to setup external software such as Home Assistant or domoticz home automation product. In this guide about Synology z-wave usb stick integration we will have a look at using z-wave sticks in conjunction with the Synology NAS.
For our testing we have used a Synology Disk Station DS218+ model. This is a powerful 2-bay model, But this model is the 2018 model of Synology Diskstation. This is what we have in our office right now. For an actual model we recommend you have a look at the Synology DS220+ you can click the link for a nice discount price provided by ZwaveGuide.

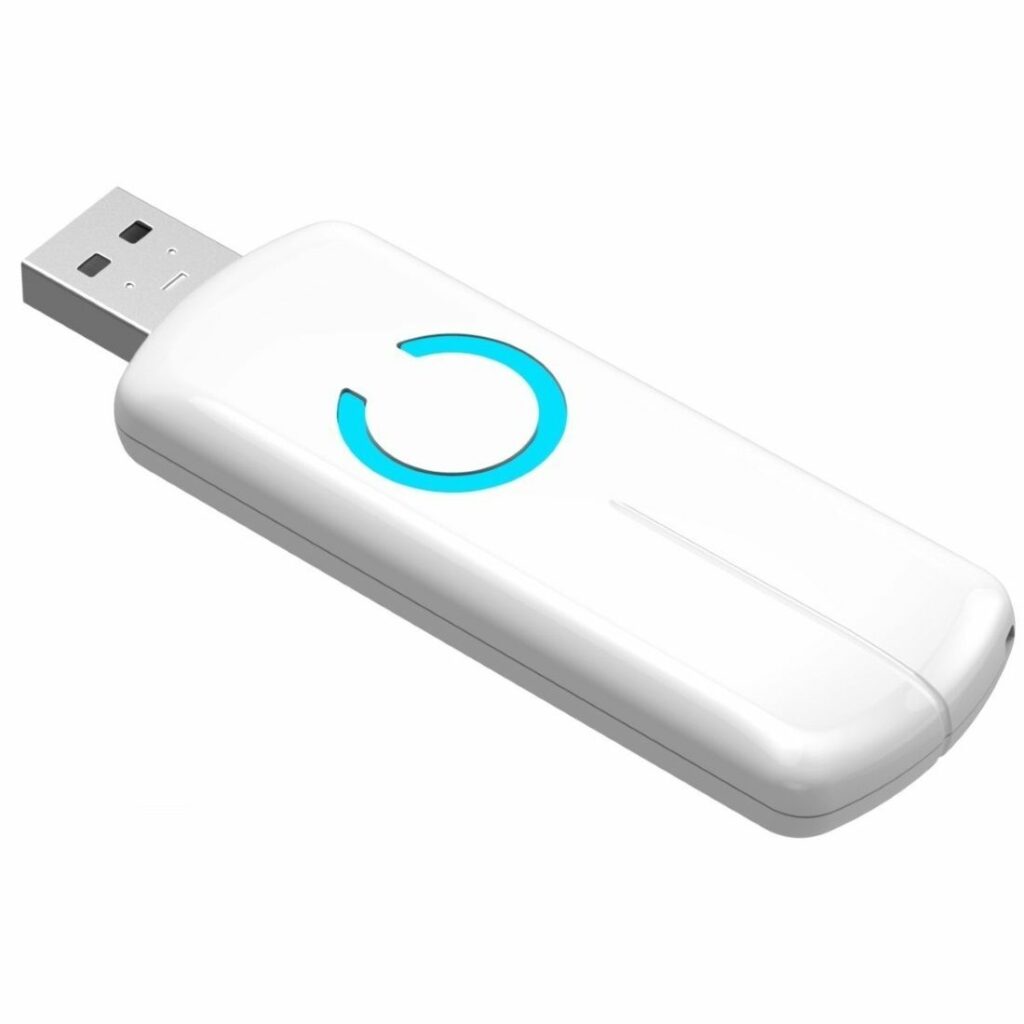
Synology compatible z-wave sticks
The tricky part of using home automation software such as Home Assistant or Domoticz in conjunction with a z-wave stick is finding the proper z-wave stick. We have got you covered and identified three compatible z-wave sticks for maximum compatibility with Synology:
- Aeotec z-stick Gen5, which is currently discounted with $10,-
- GoControl Z-wave stick
- ZooZ z-wave usb stick\
Lets have a detailed look at the controller chips used in these products, because this is the key for making the z-wave stick work with the Synology NAS. The Aeotec, GoControl and ZooZ stick use a CP210x controller chip, in order to use this you need to install CP210x drivers on your Synology NAS. You can find instructions on this below.
Installing the CP210x driver on your Synology NAS
In order to get our z-wave stick working we need to install the CP210x driver on our Synology NAS. Out of the box the Synology NAS does not provide a driver for the CP210x chipset.
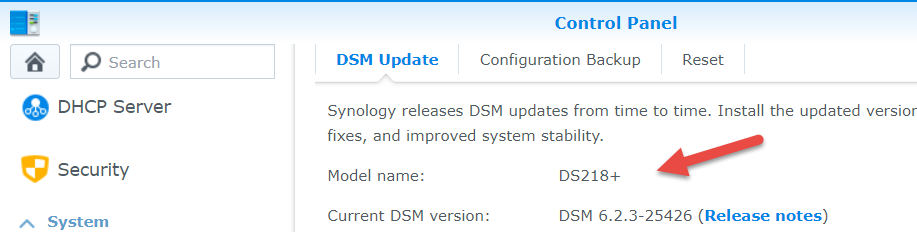
- Identify the model of your Synology NAS. There are several ways to figure this out. For example look at the box your got when purchasing your Synology. Look at the purchase e-mail you got from the webshop you purchased your Synology. Or just simply login to DSM (Usually by typing IP:5000 in your web browser. You can see the model number instantly in the web browser:
2. Download the CP210x drivers from this website. Save the driver file to your desktop.
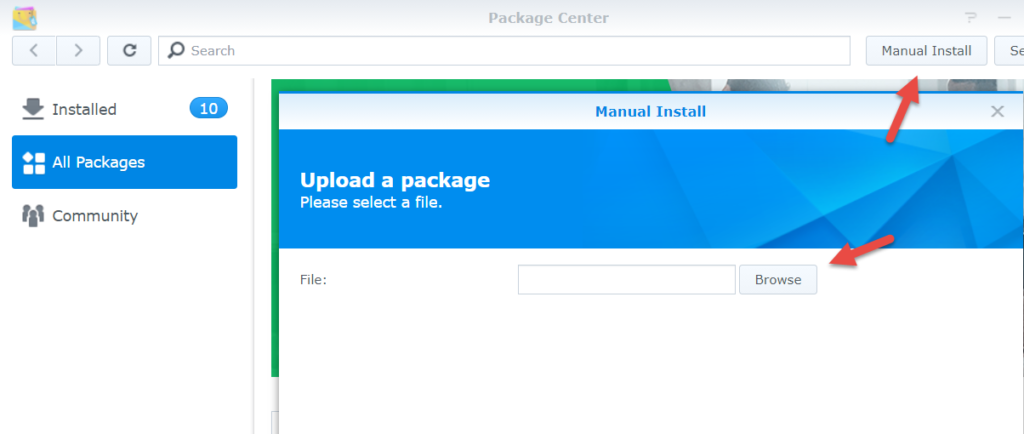
3. Login to DSM, open Package Center and click on Manual install. Browse to the driver file you downloaded in step 2 and click next to install the package.
4. After installing just plug in the USB stick and reboot your Synology NAS.
5. This should make the Synology NAS recognize the USB stick, we will verify this using the next steps.
Verify if the Synology z-wave usb stick is recognized
After rebooting our Synology NAS we want to make sure the driver for our z-wave stick is properly recognized. We will do this using a few commands from the command line. First SSH into your Synology NAS. Then run the following command:
dmesg | grep ttyThis command will show you all the devices that are attached to tty. An example output looks like this:
[ 4.837439] usb 1-3: cp210x converter now attached to ttyUSB0We can see we have successfully connected our Z-wave stick to the Synology NAS. It is connected to ttyUSB0.
Bonus: configuring and integrating the z-wave stick into Home Assistant using docker
Now that we have our Z-wave stick connected you can configure the z-wave stick to be used with home automation software. Today we will show you an example of integrating the z-wave stick within Home Assistant which is a very popular home automation software. We assume you have setup Home Assistant to use docker containers using docker-compose. In order to map the z-wave stick to the docker container you need to edit your docker-compose.yaml file to contain the following mapping. We have used the ttyUSB0 example as stated above.
- Edit docker-compose.yaml file, to contain the z-wave stick mapping:
devices:
- "/dev/ttyUSB0:/zwavestick:rwm"
2. Next up, edit your Home Assistant configuration.yaml file to reflect the new z-wave stick setup.
zwave:
  usb_path: /zwavestick
  network_key: <your network key here>
3. Restart your docker-compose stack by using the following command:
docker-compose restart home-assistantIf all went well Home Assistant should recognize your z-wave usb stick and we are ready to utilize some z-wave devices within Home Assistant.
Conclusion
In the today’s article we had a look at the best options to connect a z-wave usb stick to your Synology NAS. Several vendors provide great quality sticks, but the driver installation can be an issue. We hope this article helps you to configure the z-wave stick. If you have any trouble installing the z-wave stick please feel free to leave a comment down below.